Saving Seeds at Home: Four Small Experiments to Learn the Art of Heirloom Gardening
Why save seeds? A bit of history and a present-day reason
For millennia, gardeners and farmers selected, stored, and exchanged seeds to keep varieties adapted to local tastes and climates. From roadside seed exchanges to farmer markets, the practice preserved diversity before industrial seed systems existed. Today, saving seeds reconnects us to that tradition while helping home gardeners sustain favorite varieties, save a little money, and learn more about how plants reproduce.
Below are four bite-sized experiments that build on one another. Each is designed to take a few minutes a day or small weekend sessions. Use whatever space you have: a balcony pot, a single raised bed, or a community plot.
Experiment 1 — Observe and choose: recording traits (1–2 weeks)
Before you harvest a single seed, practice the most important part of seed saving: selection. This experiment trains your eye and creates simple records for future choices.
- Pick three plants of the same species in your garden (for example three tomato plants, three bean vines, or three lettuces).
- Watch for traits such as vigor, flavor, size of fruit, days to maturity, and resistance to pests or drought. Spend 10–15 minutes every other day noting observations.
- Record your notes in a small notebook or on your phone: date, plant identifier, what you like and what you don’t.
Why this matters: historical seed savers selected for locally useful traits. By making conscious choices now you begin to shape future generations of plants.
Experiment 2 — Dry-seed basics: beans or peas (2–4 weeks)
Legumes give fast, reliable practice because their seeds mature in pods and are easy to dry and store.
- Wait for full maturity: leave pods on the vine until they brown and rattle.
- Harvest a few pods from each of the three plants you observed in Experiment 1.
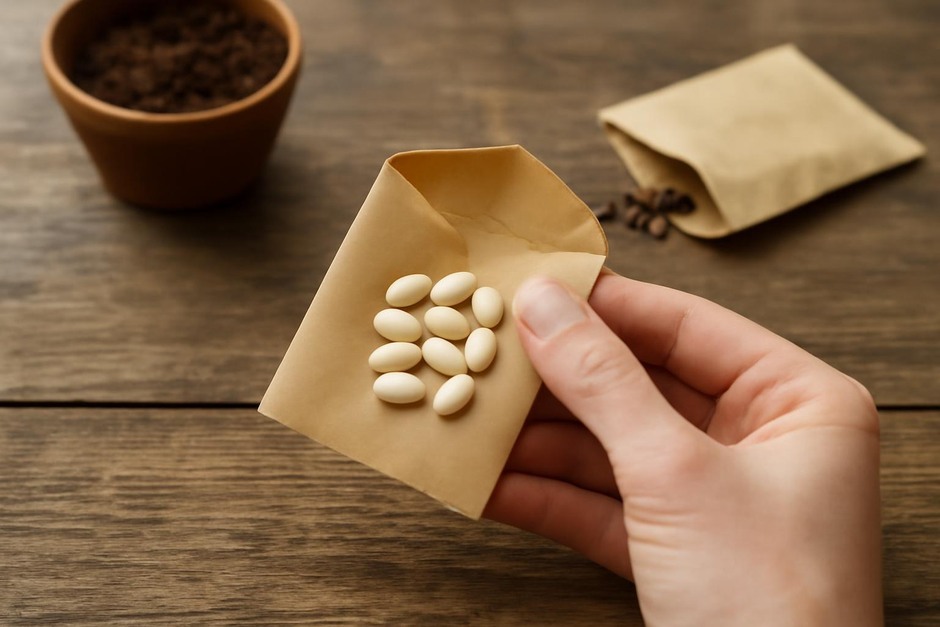
- Spread and dry: open the pods, spread seeds on a tray or paper towel in a warm, airy place for a week.
- Test dryness: seeds should snap, not bend. Place them in an envelope labeled with variety and year.
- Store: keep envelopes in a cool, dry place; a sealed jar with a little silica or dry rice helps humidity control.
Notes: Beans are typically true-to-type from seed, so this experiment teaches you cleaning, drying, labeling, and simple storage.
Experiment 3 — Fleshy-fruit seeds: tomatoes and fermentation (1–3 weeks)
Tomato seeds sit in gel and benefit from a short fermentation to remove that gel and reduce disease risk — a step that introduces gentle cleaning methods.
- Select a fully ripe fruit from a plant you’ve observed and recorded.
- Extract seeds and pulp into a jar. Add a little water to suspend the seeds.
- Ferment: leave the jar uncovered in a warm place for 2–4 days until a moldy layer forms on top. This ferments the gel away; watch but do not inhale closely if mold develops.
- Rinse and dry: pour off the liquid, rinse the seeds with fresh water, then spread them thinly to dry on a non-stick surface for several days.
- Label and store as before.
This experiment teaches seed cleaning for fleshy fruits and shows how different crops need different treatments.
Experiment 4 — Isolation and next-season planning (ongoing)
To keep a variety true-to-type, gardeners traditionally used isolation methods. This experiment introduces basic isolation and planning for biennials.
- Choose a small set of plants you want to keep true (peppers, beans, peas, or open-pollinated flowers).
- Use distance or time: separate like varieties by distance if possible, or stagger planting times so they flower at different times. On balconies, put potted varieties on different windowsills or use a tall screen to reduce bee movement between them.
- Try hand-pollination: gently transfer pollen between flowers of the same plant with a small paintbrush to ensure parentage.
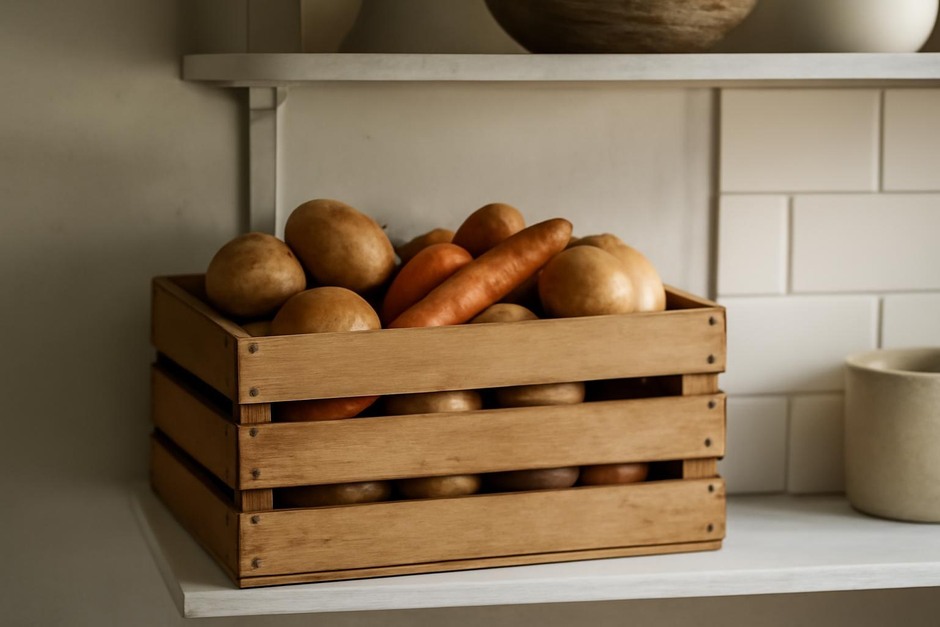
- Plan for biennials: for vegetables like carrots or onions that set seed in their second year, earmark a small area or a pot to overwinter and let the plant bolt and seed the following season.
Understanding isolation and pollination is a key step from casual saving to reliably keeping a variety’s identity.
Bringing it together
After these experiments you will have seeds saved from dry pods and fleshy fruits, a simple system for labeling and storage, and the beginnings of selection and isolation practices. Keep a simple ledger: what you saved, how you prepared it, and the success of germination the next season. Over years, these small experiments become habits that link you with centuries of gardeners who stewarded plant diversity one season at a time.
Tip: start small, celebrate the first successful seedlings, and share a few extra seeds with a neighbor or community seed swap — that tradition is how many heirlooms survived in the past and thrives today.